I will show you in this tutorial how to start the Midori Browser in full screen mode (kiosk mode) automatically after the Raspberry booted. The graphical shell (desktop) of Rapsian will not be required or started.
A pratical applicaton of this would be, for example, an info monitor on an exhibition. In this project, I want to realise a small contol center for FHEM. Therefore, a PiTFT with capacitive touch screen will be used. This, however, is covered in a later tutorial.
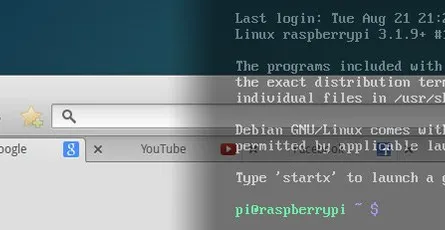
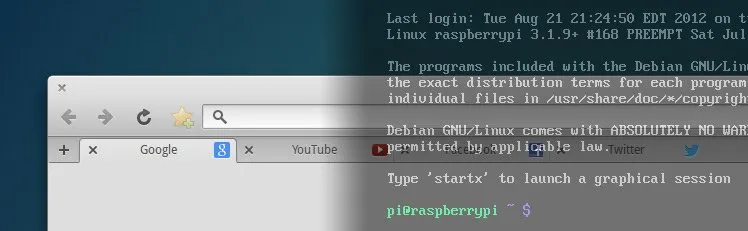
This tutorial assumes that the Raspberyy Pi or Debian Linux computer starts in terminal/console mode and not in desktop mode loading the graphical shell.
Contents
Midori Full Screen Autostart
Run the following command with the console to update the package list. After that the Midori browser and matchbox will be installed.
sudo apt-get update && sudo apt-get install -y midori matchboxCreate a new shell script file with the name_startMidori.sh_ in the home folder and open the Nano text editor. Name and save location can be chosen as you like.
nano startMidori.shAdd the following code and exit the Nano text editor
ctr+x. To save the changes pressYandEnter.#!/bin/sh xset -dpms # disable DPMS (Energy Star) features. xset s off # disable screen saver xset s noblank # don't blank the video device matchbox-window-manager & midori -e Fullscreen -a https://wordpress-x0o8gcg88www8k084ks8k088.c.benroe.deMake the script excecutable.
sudo chmod +x startMidori.shYou can test the script if you run the following command.
sudo xinit ./startMidori.shYou can exit the Midori browser with the key combination
CTRL+ALT+F1. In case you called the scriped via SSH, you can exit the script viaCTRL+c.In order to automatically excecute the script when the Raspberry starts we need to edit the rc.local file. This script is excecuted when the Raspberry starts.
sudo nano /etc/rc.localAdd the following code before
exit 0.For HDMI:
sudo xinit /home/pi/startMidori.sh &For PiTFT:
FRAMEBUFFER=/dev/fb1 xinit /home/pi/startMidori.sh &The
&at the end is important that the subsequent lines are excecuted.You can run the script with a time delay if you sourround the command in brackets and preprend /bin/sleep 10 && schreibst. The 10 means a delay of 10 seconds.
(/bin/sleep 10 && xinit /home/pi/startMidori.sh) &Unfortunately, the system needs to sign in automatically to be able to run the script. You can set this up easily if you use Raspbian Jessie using
sudo raspi-configand the selectingConsole Autologinunder boot options.You need to use the following command to the console if you use and older Raspbian version.
sudo nano /etc/inittabSearch the following line
1:2345:respawn:/sbin/getty 115200 tty1and comment it with
#.#1:2345:respawn:/sbin/getty 115200 tty1After this line add the following command.
1:2345:respawn:/bin/login -f pi tty1 /dev/tty1 2>&1This line enables that the user pi logs in without authentication.
Now you just need to restart the Raspberry pi …
sudo reboot… and the Midori browser should open with the desired webpage in full screen mode.
You will exit the Midori Browser using
CTRL+ALT+F1.
Optional: Rotate screen
If you want to show the screen in vertical mode or rotate by 180 degrees you can set this up using the following steps.
Open the config.txt file with the Nano editor
sudo nano /boot/config.txtAdd the following test at the beginning of the config.txt file.
display_rotate=2display_rotate=0Normaldisplay_rotate=190 degreesdisplay_rotate=2180 degreesdisplay_rotate=3270 degreesdisplay_rotate=0x10000Mirror horizontaldisplay_rotate=0x20000Mirror verticalExit the editing with the shortcut ctrl+x and save the changes with y.
After a restart the screen will be shown rotated as you wanted.
sudo reboot
Optional: Hide mouse pointer
Install the program unclutter.
sudo apt-get install unclutterAdd
unclutter &to the startMidori.sh script.sudo nano startMidori.sh#!/bin/sh xset -dpms # disable DPMS (Energy Star) features. xset s off # disable screen saver xset s noblank # don't blank the video device unclutter & matchbox-window-manager & midori -e Fullscreen -a https://wordpress-x0o8gcg88www8k084ks8k088.c.benroe.de
A detailed article about “[Raspberry Pi: Run Applications at System Start](http://Raspberry Pi: Programme beim Systemstart ausführen)”